Monday, July 7, 2008

20 Abandoned Cities from Around the World.

They enjoyed great wealth, they were rich in gold and diamonds during the gold rush but for them life wasn't easier. Some villagers died of natural disasters, illness, war, and others couldn't live with their worse economy. They are home to high classified murders and some named as "Valley of Ghosts".


untitled


Read more...

Sunday, July 6, 2008

results from the pinhole camera project

pinhole camera project is developing quite well. this time results were more brighter and prettier than expected. a white screen was inserted and pictures turned out damn good than previous shots.

These are some pictures from the box. (click for larger image)

IMG_8881


as you can see in this picture, black rectangle is without white screen but  right part is much brighter on white screen.


I've pushed up ISO @ 800, so somehow noise is visible here and shutter speed @ 64 seconds.

IMG_8885IMG_8886 


this picture below is something special and I liked it very much.. focus, blur, sky, lighting, exposure, this is perfect for me. you judge it ; /

IMG_8889 

I'm trying to shoot some night shots but the big challenge here is making the box light proof. Somehow I can see some progress, so I shall try it to bring it over here.


thanks for visiting. : )

Saturday, July 5, 2008

holiday project : making a digital pinhole camera

well well, this is a field I've been waiting to experience. Finally, I made a pinhole camera on my own, thanks to the Internet. That wasn't so hard as this 'digital' word rushes in. Most pinhole photographers use film cameras and it seems really tiring to get a fine result but I got the digital version and its much easier as it breaks down the darkroom process. If you wanna see how I made it, go ahead...this is not a detailed tutorial but something to show how and what I used to make it ; )

IMG_8766 
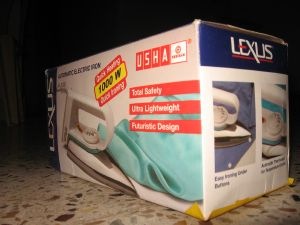
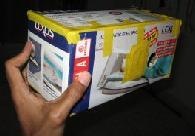
I used an empty electric iron box, fits for the use.

then made it light proof with masking tape (black is prefferable) and later made inside black so that light does not reflect in the box. please note that inside walls has to be full black.


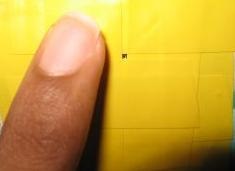
this is the pin hole. pin hole is made by making a small hole using a needle in an aluminium foil, then pasted to the square cutting.

IMG_8790

IMG_8789
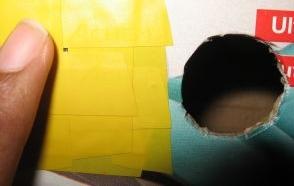
the big hole is the lens insert for the digital camera. camera has to be positioned to the inside front wall so that it captures pin hole light that touches on the wall. when image is captured the round circle has to be tight enough to block leaking light into the box.


IMG_8783 and now it's ready for for action! its light-weight, unique design ; ) even if it isn't that handy to carry on your bag its good for home use. this is a shot without digital camera attached.

See a detailed tutorial here.

here are some shots captured from inside of the box. click for larger image.


IMG_8771

this is the first shot, it was pretty good though it captured something but full black. I couldn't set the exact shutter speed to catch a well exposed shot. (pls don't click for a larger image : ] )


IMG_8782

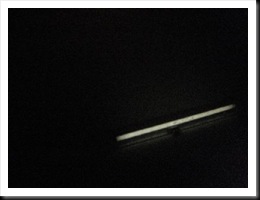
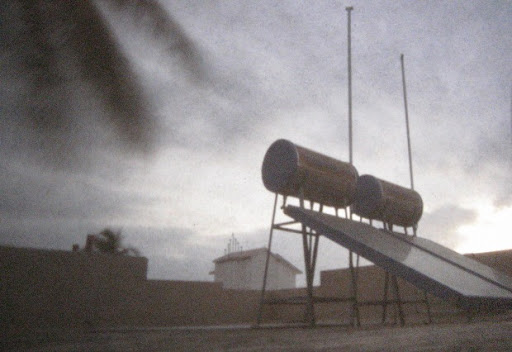
so next, I based the pinhole box camera at tube light, that was a great success and the pin hole camera proved to be working!


IMG_8805

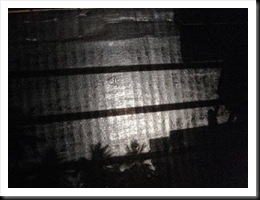
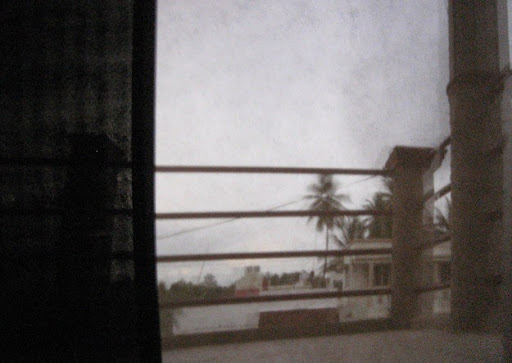
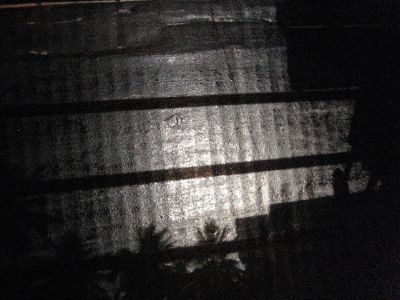
this shot is captured in the morning. actually you can see some palm trees and think that white part is the sky. the line strips seen here are box tracks on the black surface and it needs to be refurbished.

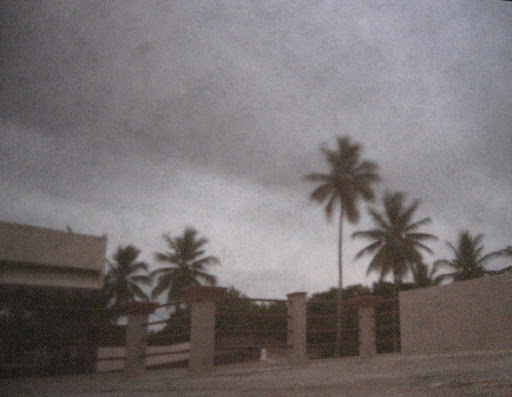
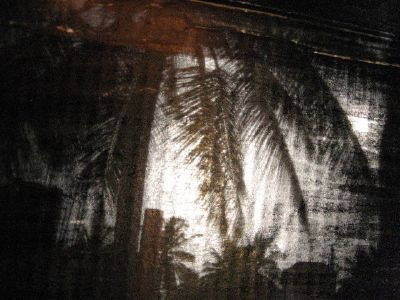
this is another shot taken in the morning beside a palm tree.IMG_8807


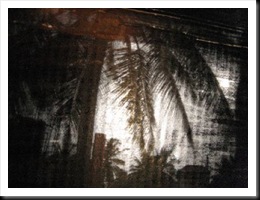
This is the story from the pinhole box!

If you wanna try this get this tutorial for yourself. : /

If you like to shoot with films these readymade, fancy design cameras might help you.

Note: This project is still in the process of development. New colour pictures will be updated soon. Even if the photos are totally crap I still hold the copyright.

Friday, July 4, 2008

chdk magic series, video no. 3

this is a short video.

couldn't shoot more due to battery charge loss.

62 shots

video @ 10fps

Wednesday, July 2, 2008

Create HDR image in 5 steps.

HDR is termed as High Dynamic Range which dramatizes different exposures and intensity of colours in one image. The darker and lighter areas of the image are neutralized to create a cool atmosphere and it gives a whole new colour intensity levels.

Creating HDR image is simple. You don’t need to own a high end DSLR to create HDR because Photomatix opens a new frontier for your creativity.

I have used Photomatix software here but this can be done in Photoshop CS3 too, but Photomatix has more intelligent tone mapping features which enhance lot of details of the image.

Follow these steps and see the drama it creates. ; p

1. Shoot 3 shots with different exposure; 1 with correct exposure, 1 little lighter, 1 little dark. Its okay if you have more than 3 shots, but 3 shots will do the job.


2. Open Photomatix > Click Generate HDR image > browse and select three shots with 3 different exposure > then OK


3. Now the photo will be generated. You will get a result something like this.

The image may appear darker and some areas of the image will be highly exposed. Now the solution is, go to the TONE MAPPING button on the left.


4. Set the strength, colour saturation, luminosity, and so on. Each of these elements will bring much more detailing and colour intensity.

Below the histogram you can see tone, colour, micro and saturation tabs where you can switch white and black point with gama settings as well.

Play with these settings to get the desired effect you like.


5. Now click PROCESS and there you go!

See the difference with the original picture and the Photomatix version.

You gotta try this out. Good luck.

Note: Photomatix plug-in is available for Photoshop.

Tuesday, July 1, 2008

what's in your fridge?


let's cook!

cookingbynumbers let's you find recipes by clicking on what you have in your fridge. Start ticking and they will show what you can cook.
After all you don't have to be in despair with eggs that are left out in your fridge.

so let's get started...